
If you’ve worked with AWS DynamoDB from .NET before, you already know the friction: you have to create tables in AWS, manage credentials, and wait for infrastructure to provision - just to test a simple CRUD API.
For experimentation and local development, that’s overkill.
With .NET Aspire 13, DynamoDB Local, AWS Aspire Hosting package, and .NET 10 minimal APIs, we can build a complete CRUD Web API against DynamoDB without ever touching an AWS account. Aspire orchestrates everything for us: it runs DynamoDB Local in Docker, brings up the API, wires configuration, and gives us a clean dashboard to see what’s running.
Later, when you’re happy with the API, you can swap DynamoDB Local for real AWS DynamoDB by adjusting configuration and using Aspire.Hosting.AWS. The application code stays the same.
This article is sponsored by AWS. Huge thanks for helping me produce more .NET on AWS content!
In this article, we will:
- Create an Aspire solution that hosts a .NET 10 minimal API.
- Use DynamoDB Local via Docker as our database, orchestrated by Aspire and the Aspire.Hosting.AWS package.
- Implement full CRUD for a
TodoItementity against DynamoDB using the AWS SDK for .NET. - Run and test everything locally using Postman - no AWS account required.
- See how to switch the same code to point at real DynamoDB in AWS later.
If you haven’t read my earlier Aspire articles, I strongly recommend these as background:
- .NET Aspire for .NET Developers - Deep Dive into Cloud-Ready .NET Apps
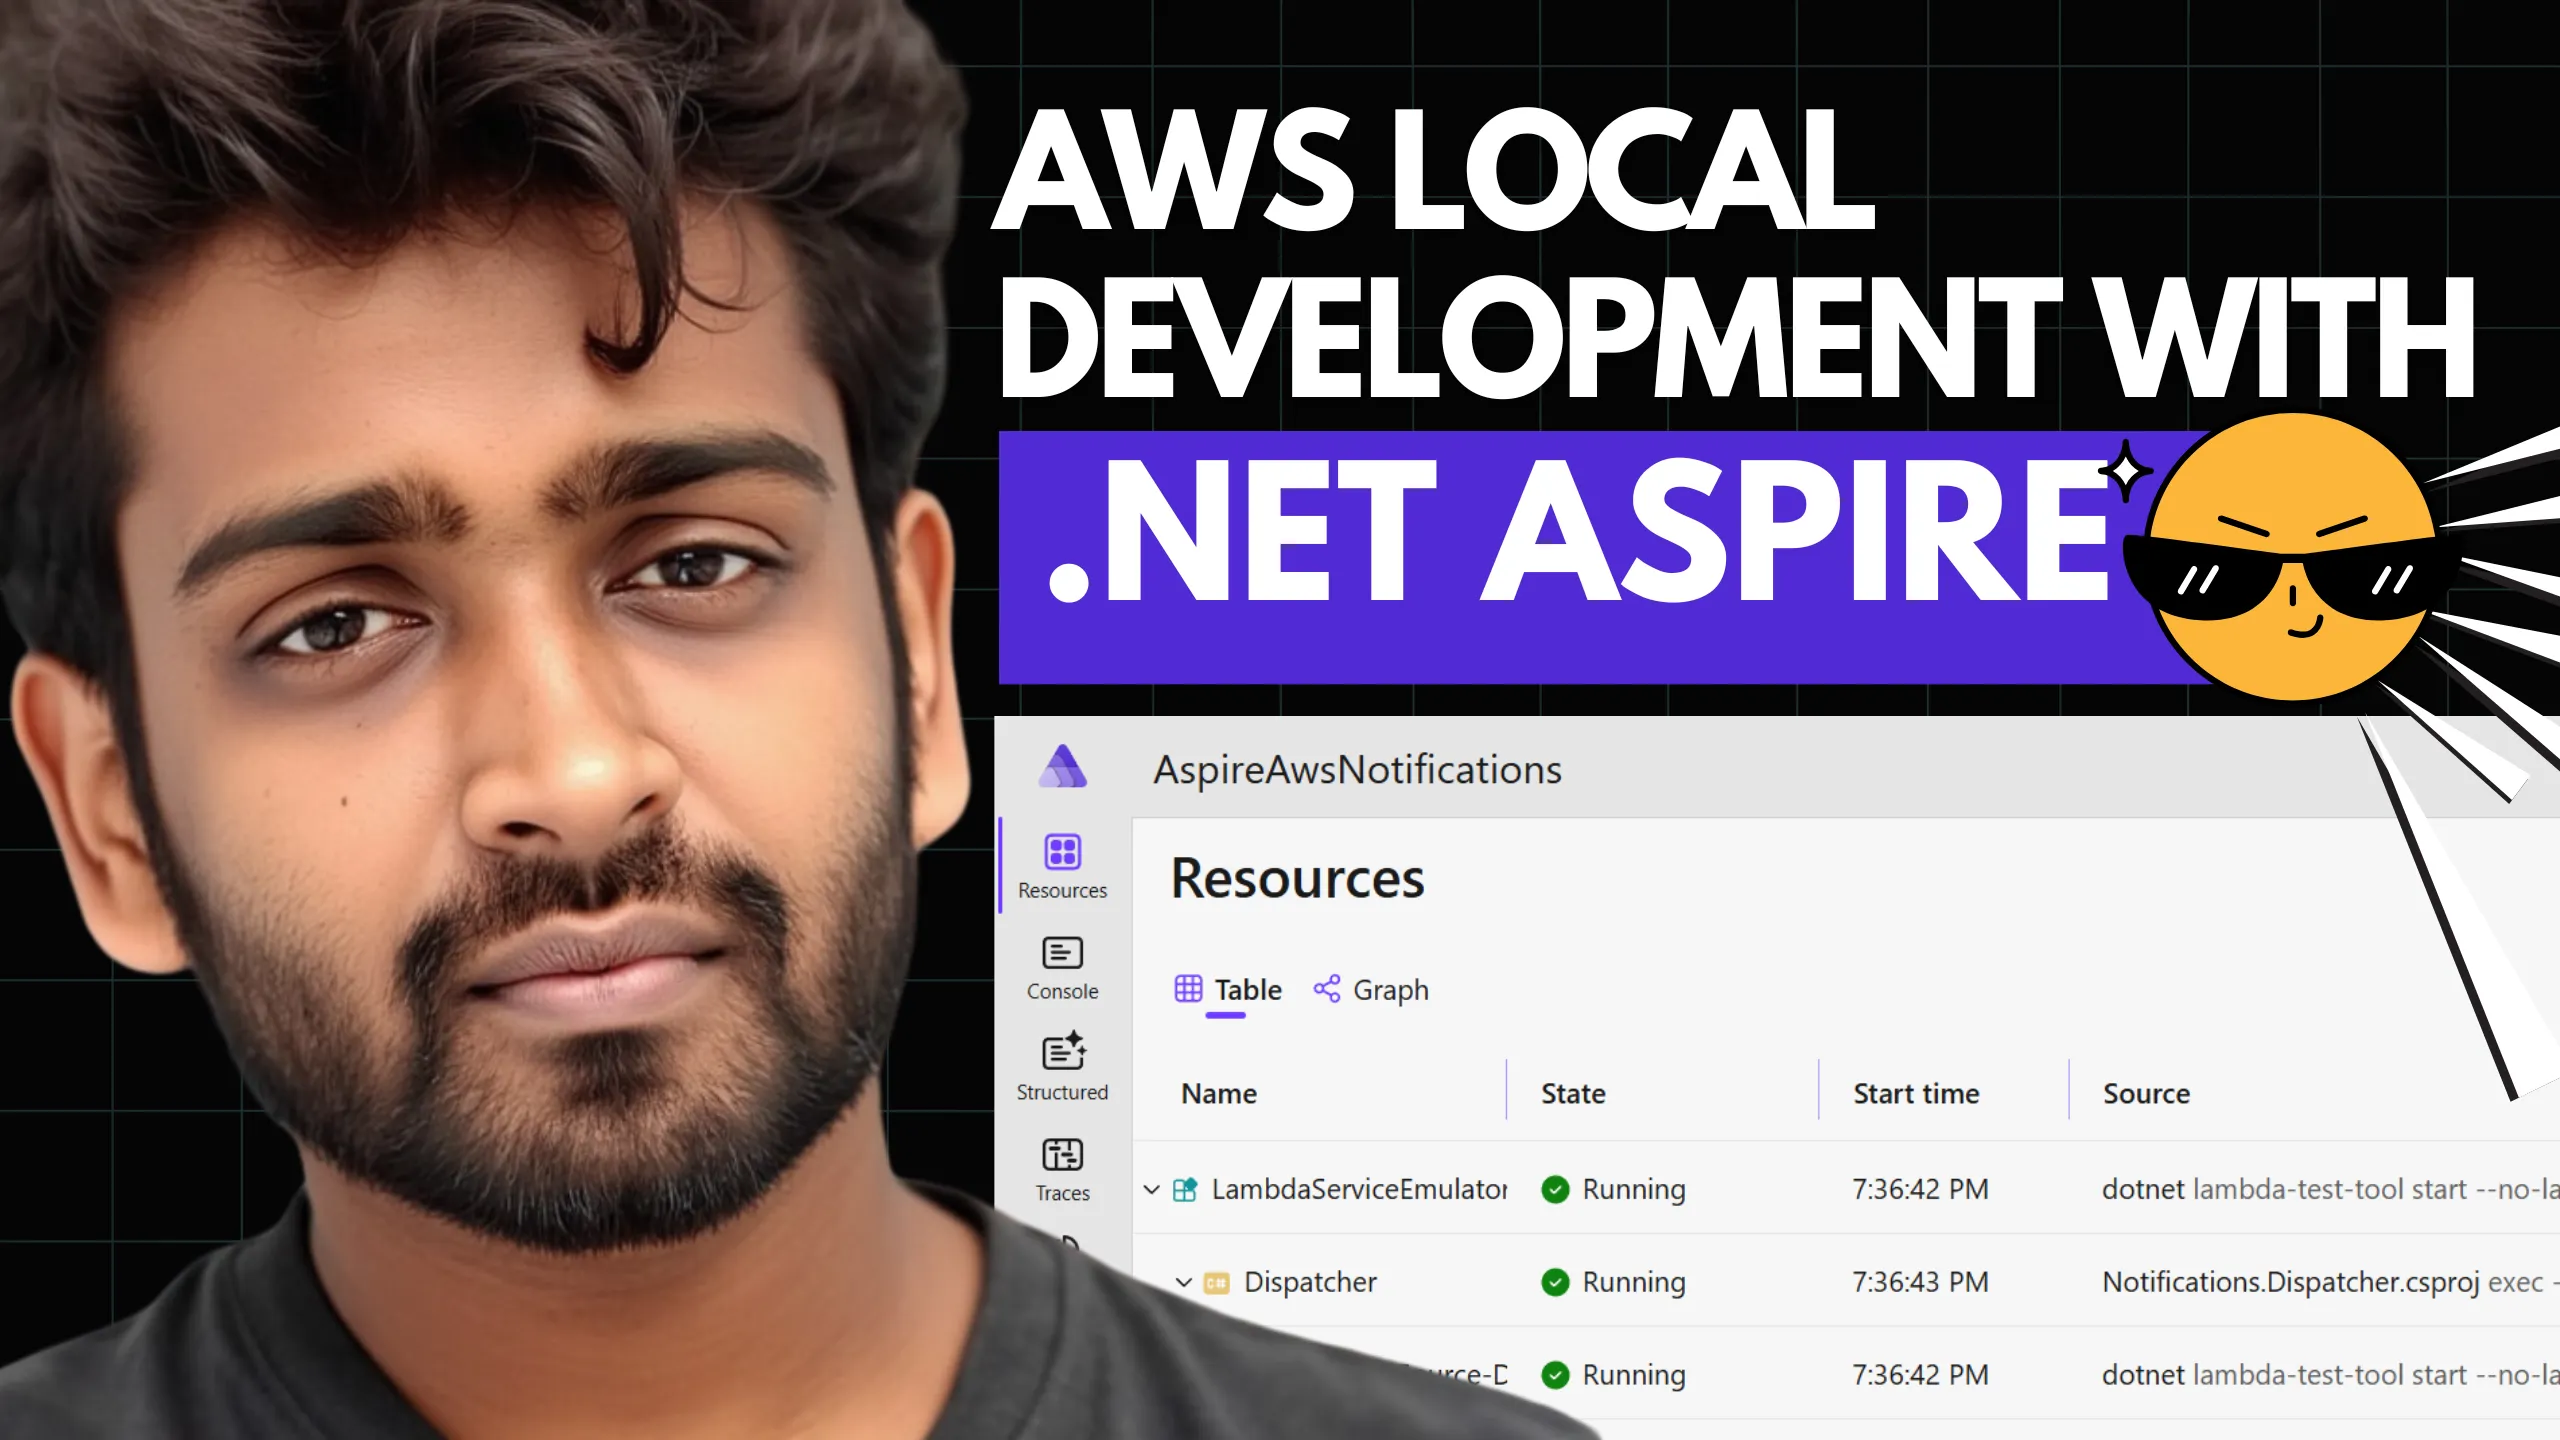
- AWS Local Development with .NET Aspire - Build a Serverless Notifications System
Those posts give you a solid mental model for Aspire’s app host, resource model, and how Aspire can orchestrate AWS resources.
You can find the complete source code for this article in the GitHub repository: https://github.com/iammukeshm/local-dynamodb-development-with-dotnet-aspire. I recommend keeping it open as you read through, so you can cross-check the AppHost, minimal API, and DynamoDB Local configuration as we go. If you find the repository helpful, do consider giving it a star and following me on GitHub - it really helps and keeps you updated on new samples.
What we are going to build
To keep things practical and familiar, we’ll build a Todo API.
At a high level:
- We have a .NET 10 minimal API called
TodoService. - It exposes CRUD endpoints:
POST /todos– create a new todo.GET /todos– list all todos.GET /todos/{id}– get a single todo by ID.PUT /todos/{id}– update an existing todo.DELETE /todos/{id}– delete a todo.
- The data is stored in a DynamoDB table called
Todos, running locally via DynamoDB Local. - Aspire:
- Starts a DynamoDB Local container.
- Starts the
TodoService. - Wires connection information via environment variables. In our case, it will be the locally running DynamoDB endpoint.
We will then discuss how you can switch from DynamoDB Local to real AWS DynamoDB by:
- Changing the DynamoDB endpoint.
- Using
Aspire.Hosting.AWSto define a DynamoDB table in an AWS CDK stack for higher environments.
The key idea is this:
You develop and test everything locally, with a realistic DynamoDB experience, and only flip to AWS once you’re ready - without changing your core application code.
Prerequisites
Before we start, make sure you have the following installed and configured:
- .NET 10 SDK
Verify with:Terminal window dotnet --version - .NET Aspire 13 workloads and templates
Follow the official instructions or the steps I outlined in my Aspire deep dive article. - Docker
We’ll use DynamoDB Local via Docker in our development environment.
For this article, we’ll focus entirely on local development. You don’t need an AWS account to follow along.
Project structure and solution setup
We’ll create an Aspire-based solution with the following projects:
AspireDdbLocal.AppHost- the Aspire application host.AspireDdbLocal.ServiceDefaults- shared cross-cutting configuration (logging, OpenTelemetry, health checks).AspireDdbLocal.ApiService- .NET 10 minimal API that talks to DynamoDB.
When you scaffold the Aspire starter template, it already creates an
AspireDdbLocal.ApiServiceand aAspireDdbLocal.Webproject. In this article, we’ll delete the web front-end project (since we don’t need a UI) and reuseAspireDdbLocal.ApiServiceas our Todo minimal API.
Creating the Aspire solution
Create a folder for the solution and scaffold the Aspire starter:
dotnet new aspire-starter -n AspireDdbLocalThis will create:
AspireDdbLocal.slnAspireDdbLocal.AppHostAspireDdbLocal.ServiceDefaults- A sample web project you can remove or repurpose.
You don’t need to create any additional projects - the Aspire starter template gives you everything you need. In the next sections, we’ll define our domain model, wire DynamoDB Local, and turn AspireDdbLocal.ApiService into a minimal API that talks to DynamoDB.
Domain model for Todo items
Our domain is intentionally simple. A TodoItem has:
Id– the primary key in DynamoDB.Title– the task description.IsCompleted– boolean flag.CreatedAt– timestamp.UpdatedAt– optional timestamp for updates.
Define this record in the AspireDdbLocal.ApiService project (for example in a Models/TodoItem.cs file):
namespace AspireDdbLocal.ApiService.Models;
public sealed record TodoItem(    string Id,    string Title,    bool IsCompleted,    DateTimeOffset CreatedAt,    DateTimeOffset? UpdatedAt = null);
We’ll store this in a DynamoDB table called Todos, using Id as the partition key. We’ll keep the schema simple on purpose so we can focus on Aspire and local DynamoDB rather than advanced modelling.
If you want a deeper dive into modelling and implementing CRUD operations with DynamoDB from ASP.NET Core, I recommend reading this article as a companion to this one:
Adding AWS SDK for DynamoDB
We’ll use the official AWS SDK for .NET to talk to DynamoDB.
In the AspireDdbLocal.ApiService project, install the DynamoDB SDK:
dotnet add AspireDdbLocal.ApiService package AWSSDK.DynamoDBv2This gives us AmazonDynamoDBClient and the necessary models to read/write items.
In the AppHost, we will use the AWS hosting helpers provided by Aspire.Hosting.AWS to run DynamoDB Local and expose its endpoint to our API.
Running DynamoDB Local with Aspire
There are three parts to wiring DynamoDB Local:
- Running the DynamoDB Local container (using
AddAWSDynamoDBLocal). - Creating the Todos table inside that local instance.
- Configuring the API service to depend on and reference that DynamoDB resource.
Open AspireDdbLocal.AppHost/Program.cs and update it to something like:
using Amazon.DynamoDBv2;using Amazon.DynamoDBv2.Model;using Aspire.Hosting;using Aspire.Hosting.ApplicationModel;using Aspire.Hosting.AWS;
var builder = DistributedApplication.CreateBuilder(args);
// DynamoDB Local resource (from Aspire.Hosting.AWS)var dynamoDb = builder.AddAWSDynamoDBLocal("TodoItems");
// When the DynamoDB Local resource is ready, create the Todos tablebuilder.Eventing.Subscribe<ResourceReadyEvent>(dynamoDb.Resource, async (evnt, ct) =>{    // Configure DynamoDB client to connect to DynamoDB Local.    var serviceUrl = dynamoDb.Resource.GetEndpoint("http").Url;    var ddbClient = new AmazonDynamoDBClient(new AmazonDynamoDBConfig { ServiceURL = serviceUrl });
    await ddbClient.CreateTableAsync(new CreateTableRequest    {        TableName = "Todos",        AttributeDefinitions = new List<AttributeDefinition>        {            new AttributeDefinition { AttributeName = "Id", AttributeType = "S" }        },        KeySchema = new List<KeySchemaElement>        {            new KeySchemaElement { AttributeName = "Id", KeyType = "HASH" }        },        BillingMode = BillingMode.PAY_PER_REQUEST    });});
// Minimal API project (AspireDdbLocal.ApiService)var apiService = builder.AddProject<Projects.AspireDdbLocal_ApiService>("api-service")    .WaitFor(dynamoDb)    .WithReference(dynamoDb);
builder.Build().Run();
A few notes:
AddAWSDynamoDBLocal("TodoItems")
Comes fromAspire.Hosting.AWSand knows how to run DynamoDB Local as part of your distributed application. It registers a resource with an HTTP endpoint that other services can reference.builder.Eventing.Subscribe<ResourceReadyEvent>(dynamoDb.Resource, ...)
Subscribes to the resource-ready event for the DynamoDB Local resource. When the container is up and its endpoint is available, this callback runs once, giving you a chance to initialize the database.- Inside the subscription:
dynamoDb.Resource.GetEndpoint("http").Urlgives you the local HTTP endpoint for DynamoDB Local.AmazonDynamoDBClientis configured withServiceURL = serviceUrlso it talks to DynamoDB Local instead of AWS.CreateTableAsynccreates theTodostable withIdas the partition key and on-demand billing (PAY_PER_REQUEST).
builder.AddProject<Projects.AspireDdbLocal_ApiService>("api-service")
Registers the minimal API project with Aspire. The.WaitFor(dynamoDb)call declares that the API service depends on DynamoDB Local being ready, and.WithReference(dynamoDb)connects the two in the app model so Aspire can flow resource configuration.
At this point, Aspire knows:
- How to start DynamoDB Local using the AWS hosting extensions.
- How and when to create the
Todostable locally. - That the API service depends on DynamoDB Local and should only be considered healthy once the resource is ready.
Next, we’ll configure the API service itself to talk to DynamoDB Local.
Implementing the .NET 10 minimal API
Open AspireDdbLocal.ApiService/Program.cs and replace the default template with a minimal API that uses DynamoDB.
using Amazon.DynamoDBv2;using Amazon.DynamoDBv2.Model;using AspireDdbLocal.ApiService.Models;
var builder = WebApplication.CreateBuilder(args);
// Read configuration values for DynamoDBvar dynamoDbServiceUrl = builder.Configuration["AWS_ENDPOINT_URL_DYNAMODB"];var tableName = "Todos";
// Configure DynamoDB clientvar dynamoConfig = new AmazonDynamoDBConfig();
if (!string.IsNullOrWhiteSpace(dynamoDbServiceUrl)){    // Point the client to DynamoDB Local    dynamoConfig.ServiceURL = dynamoDbServiceUrl;}
var dynamoDbClient = new AmazonDynamoDBClient(dynamoConfig);
// Register the client for DI if neededbuilder.Services.AddSingleton<IAmazonDynamoDB>(dynamoDbClient);
var app = builder.Build();
// Ensure table exists (for local dev convenience)app.MapGet("/health/dynamodb", async () =>{    var response = await dynamoDbClient.ListTablesAsync();    if (!response.TableNames.Contains(tableName))    {        await dynamoDbClient.CreateTableAsync(new CreateTableRequest        {            TableName = tableName,            AttributeDefinitions = new List<AttributeDefinition>            {                new AttributeDefinition("Id", ScalarAttributeType.S)            },            KeySchema = new List<KeySchemaElement>            {                new KeySchemaElement("Id", KeyType.HASH)            },            BillingMode = BillingMode.PAY_PER_REQUEST        });    }
    return Results.Ok(new { Status = "OK", Table = tableName });});
// Create a todoapp.MapPost("/todos", async (TodoItem request, IAmazonDynamoDB dynamoDb) =>{    var id = string.IsNullOrWhiteSpace(request.Id)        ? Guid.NewGuid().ToString("N")        : request.Id;
    var now = DateTimeOffset.UtcNow;
    var item = new Dictionary<string, AttributeValue>    {        ["Id"] = new AttributeValue(id),        ["Title"] = new AttributeValue(request.Title),        ["IsCompleted"] = new AttributeValue { BOOL = request.IsCompleted },        ["CreatedAt"] = new AttributeValue(now.ToString("O"))    };
    await dynamoDb.PutItemAsync(new PutItemRequest    {        TableName = tableName,        Item = item    });
    var created = new TodoItem(id, request.Title, request.IsCompleted, now);    return Results.Created($"/todos/{id}", created);});
// Get all todosapp.MapGet("/todos", async (IAmazonDynamoDB dynamoDb) =>{    var scanResponse = await dynamoDb.ScanAsync(new ScanRequest    {        TableName = tableName    });
    var todos = scanResponse.Items.Select(ToTodoItem).ToList();
    return Results.Ok(todos);});
// Get todo by idapp.MapGet("/todos/{id}", async (string id, IAmazonDynamoDB dynamoDb) =>{    var result = await dynamoDb.GetItemAsync(new GetItemRequest    {        TableName = tableName,        Key = new Dictionary<string, AttributeValue>        {            ["Id"] = new AttributeValue(id)        }    });
    if (result.Item == null || result.Item.Count == 0)    {        return Results.NotFound();    }
    var todo = ToTodoItem(result.Item);    return Results.Ok(todo);});
// Update todoapp.MapPut("/todos/{id}", async (string id, TodoItem request, IAmazonDynamoDB dynamoDb) =>{    var now = DateTimeOffset.UtcNow;
    var updateRequest = new UpdateItemRequest    {        TableName = tableName,        Key = new Dictionary<string, AttributeValue>        {            ["Id"] = new AttributeValue(id)        },        UpdateExpression = "SET Title = :title, IsCompleted = :isCompleted, UpdatedAt = :updatedAt",        ExpressionAttributeValues = new Dictionary<string, AttributeValue>        {            [":title"] = new AttributeValue(request.Title),            [":isCompleted"] = new AttributeValue { BOOL = request.IsCompleted },            [":updatedAt"] = new AttributeValue(now.ToString("O"))        },        ReturnValues = "ALL_NEW"    };
    var response = await dynamoDb.UpdateItemAsync(updateRequest);
    var updated = ToTodoItem(response.Attributes);    return Results.Ok(updated);});
// Delete todoapp.MapDelete("/todos/{id}", async (string id, IAmazonDynamoDB dynamoDb) =>{    await dynamoDb.DeleteItemAsync(new DeleteItemRequest    {        TableName = tableName,        Key = new Dictionary<string, AttributeValue>        {            ["Id"] = new AttributeValue(id)        }    });
    return Results.NoContent();});
app.Run();
// Helper to convert DynamoDB item to TodoItemstatic TodoItem ToTodoItem(Dictionary<string, AttributeValue> item){    var id = item["Id"].S;    var title = item["Title"].S;    var isCompleted = item["IsCompleted"].BOOL;    var createdAt = DateTimeOffset.Parse(item["CreatedAt"].S);
    DateTimeOffset? updatedAt = null;    if (item.TryGetValue("UpdatedAt", out var updatedAttr) && !string.IsNullOrWhiteSpace(updatedAttr.S))    {        updatedAt = DateTimeOffset.Parse(updatedAttr.S);    }
    return new TodoItem(id, title, isCompleted, createdAt, updatedAt);}
A few notes:
- We read
AWS_ENDPOINT_URL_DYNAMODBfrom configuration. This environment variable is not something we invented: it is populated byAspire.Hosting.AWSwhen we call.WithReference(dynamoDb)on the API service. You can see this in the API container’s environment variables when the AppHost is running. - We use a constant table name (
Todos) in the API, and we create the table automatically in the/health/dynamodbendpoint if it doesn’t exist - handy when you’re iterating locally with DynamoDB Local. - We use the AWS SDK directly with
PutItem,Scan,GetItem,UpdateItem, andDeleteItem.
For a deeper dive into implementing CRUD with DynamoDB from ASP.NET Core, check out my companion article: CRUD with DynamoDB in ASP.NET Core.
This minimal API is completely unaware of whether the underlying DynamoDB is local or in AWS - it just uses IAmazonDynamoDB with the configured endpoint supplied by Aspire and the AWS hosting extensions.
Running the Aspire solution locally
With the services wired into the AppHost, you’re ready to run everything locally.
- Make sure Docker is running on your machine.
- Make the AppHost the startup project in your IDE (or run it via
dotnet runfrom theAspireDdbLocal.AppHostfolder). - The Aspire dashboard should open (or you can navigate to it manually). You will see:
- The DynamoDB Local resource (backed by the container started via
AddAWSDynamoDBLocal). - The
api-serviceWeb API project (AspireDdbLocal.ApiService).
- The DynamoDB Local resource (backed by the container started via
- Verify that everything is healthy and that logs are flowing.

You can now:
- Hit
/health/dynamodbonce to ensure theTodostable is created. - Use Swagger or a tool like HTTP REPL / Postman / curl to call:
POST /todosGET /todosGET /todos/{id}PUT /todos/{id}DELETE /todos/{id}
All of this runs:
- Locally.
- Against DynamoDB Local in Docker.
- Orchestrated by Aspire, with a clear view in the dashboard.
Testing the API with Postman
Let’s quickly test the API using Postman. Once the AppHost is running, Aspire will host the AspireDdbLocal.ApiService on a local HTTP port (for example, https://localhost:7378). The exact port may differ on your machine - check the Aspire dashboard or the service logs to confirm.
For the examples below, I’ll assume the base URL is:
https://localhost:73781. Health check – ensure DynamoDB Local and the Todos table are ready
- Method:
GET - URL:
https://localhost:7378/health/dynamodb
Sample response:
{ "status": "OK", "table": "Todos"}If you see this response, it means:
- DynamoDB Local is reachable from the API.
- The
Todostable exists (it is created automatically if missing).
2. Insert a new todo
- Method:
POST - URL:
https://localhost:7378/todos - Body (JSON):
{ "id": "", "title": "Write Aspire + DynamoDB Local article", "isCompleted": false}You can omit id or set it to an empty string - the API will generate a new GUID. In Postman, make sure the body type is set to raw → JSON.
Sample response (201 Created):
{ "id": "b3a5e6c0a8b24f3f8d0f9e6c9d2a1234", "title": "Write Aspire + DynamoDB Local article", "isCompleted": false, "createdAt": "2025-11-23T10:30:45.1234567+00:00", "updatedAt": null}Copy the id value - you’ll use it for the next requests.
3. Get all todos
- Method:
GET - URL:
https://localhost:7378/todos
Sample response:
[ { "id": "b3a5e6c0a8b24f3f8d0f9e6c9d2a1234", "title": "Write Aspire + DynamoDB Local article", "isCompleted": false, "createdAt": "2025-11-23T10:30:45.1234567+00:00", "updatedAt": null }]This confirms that:
- The item is stored in the
Todostable in DynamoDB Local. - The API can scan and return all items.
4. Get todo by id
- Method:
GET - URL:
https://localhost:7378/todos/{id}
Replace{id}with theidyou got from the POST response:
https://localhost:7378/todos/b3a5e6c0a8b24f3f8d0f9e6c9d2a1234Sample response:
{ "id": "b3a5e6c0a8b24f3f8d0f9e6c9d2a1234", "title": "Write Aspire + DynamoDB Local article", "isCompleted": false, "createdAt": "2025-11-23T10:30:45.1234567+00:00", "updatedAt": null}If you pass an id that doesn’t exist, the API returns 404 Not Found.
5. Delete a todo
- Method:
DELETE - URL:
https://localhost:7378/todos/{id}
Again, replace{id}with the actual id:
https://localhost:7378/todos/b3a5e6c0a8b24f3f8d0f9e6c9d2a1234Expected response: 204 No Content.
You can verify the deletion by calling GET /todos/{id} again - it should now return 404 Not Found, and GET /todos should no longer include that item.
With these Postman tests, you’ve exercised the full CRUD workflow against DynamoDB Local, entirely orchestrated by .NET Aspire.
Switching to real AWS DynamoDB
So far, we have a local-only setup. No AWS account, no IAM, no cloud resources. That’s perfect for early development.
When you’re ready to use real DynamoDB in AWS, you don’t have to rewrite your API. You only need to:
- Point the DynamoDB client at AWS’s endpoint instead of DynamoDB Local.
- Define a DynamoDB table resource in
Aspire.Hosting.AWS(for AWS-backed environments). - Configure AWS credentials (e.g., via IAM roles, profiles).
Adjusting the DynamoDB client
In AspireDdbLocal.ApiService/Program.cs, we currently read:
var dynamoDbServiceUrl = builder.Configuration["AWS_ENDPOINT_URL_DYNAMODB"];and only set ServiceURL when this value is present:
if (!string.IsNullOrWhiteSpace(dynamoDbServiceUrl)){ dynamoConfig.ServiceURL = dynamoDbServiceUrl;}For local development, Aspire.Hosting.AWS sets AWS_ENDPOINT_URL_DYNAMODB for you when you call .WithReference(dynamoDb) on the API project, so the client points at DynamoDB Local.
For AWS:
- In Development, keep
AWS_ENDPOINT_URL_DYNAMODBset by Aspire so that the API talks to DynamoDB Local. - In Staging/Production, do not set
AWS_ENDPOINT_URL_DYNAMODBat all. When this value is missing, we never assignServiceURL, and the AWS SDK will pick the default DynamoDB endpoint for the configured region (AWS_REGION, IAM role, profile, etc.).
You can handle this with simple environment-based config:
var environment = builder.Environment.EnvironmentName;
if (environment == "Development" && !string.IsNullOrWhiteSpace(dynamoDbServiceUrl)){    dynamoConfig.ServiceURL = dynamoDbServiceUrl;}
In Production, you’ll set:
AWS_REGION(for example,ap-south-1orus-east-1).- AWS credentials via an IAM role (Lambda/ECS) or an AWS profile.
Using Aspire.Hosting.AWS for the real table
In your AppHost, for development, you have:
- A DynamoDB Local container.
AWS_ENDPOINT_URL_DYNAMODBpointing to a url of the DynamoDB Local container.
For staging/production, you can:
- Replace the container resource with a DynamoDB table resource defined via
Aspire.Hosting.AWSand AWS CDK (similar to the pattern we used in the serverless notifications article). - Reference that resource from your TodoService using
.WithReference(...), letting Aspire produce environment variables such asAWS__Resources__Todos__TableNamefor you.
The application code (TodoService) doesn’t need to change-it just reads table name and endpoint from configuration. Aspire and your environment configuration decide whether that means “local DynamoDB” or “real AWS DynamoDB”. If you want a detailed walkthrough of defining DynamoDB resources on AWS with Aspire.Hosting.AWS and CDK, check out my previous article: AWS Local Development with .NET Aspire – Build a Serverless Notifications System.
Wrap-up and next steps
In this article, we built a .NET 10 minimal API for Todo items that talks to DynamoDB Local, fully orchestrated by .NET Aspire 13. Aspire runs the DynamoDB Local container for you, wires the endpoint (AWS_ENDPOINT_URL_DYNAMODB) into the API, and keeps everything visible in a single dashboard. You get a realistic DynamoDB development experience without touching an AWS account, while still using the same AWS SDK you would use in production.
We also saw how the same setup can evolve to use real AWS DynamoDB: by dropping the local ServiceURL in higher environments, defining a DynamoDB table resource with Aspire.Hosting.AWS, and letting the SDK pick up the correct region and credentials. The application code stays focused on business logic; the AppHost and environment configuration decide whether you’re talking to local DynamoDB or the real thing.
From here, you can harden this Todo API with authentication (for example, Cognito), add event-driven extensions with DynamoDB Streams and SQS, or plug it into your existing Aspire-based distributed applications. If you enjoyed this local-first workflow, you’ll also like my Aspire deep dive and the serverless notifications article with Aspire + AWS. And if you want to see everything in action, the complete working implementation is available on GitHub: https://github.com/iammukeshm/local-dynamodb-development-with-dotnet-aspire - don’t forget to star the repo and follow me there for more .NET + AWS examples.
Happy building with .NET 10, DynamoDB Local, and .NET Aspire!


What's your Feedback?
Do let me know your thoughts around this article.