In this article, we will see how to run WordPress on ASP.NET Core Host. Yes, you read it right. It’s now possible to run an entire WordPress Application over an ASP.NET Core Host seamlessly. But what are the benefits and how do you get it running? That’s exactly what this article will cover. You can find the source code of the implementation here for your reference.
Prerequisites
You will need to have these on your machine before you get started.
- Visual Studio 2019 IDE / Visual Studio Code
- The Latest .NET SDK - Get it here
- MySQL Server Installed and configured, as WordPress will be using this Server Instance for Persistence.
Steps to Run WordPress on ASP.NET Core
Here are the steps needed to run WordPress with ASP.NET Core. After this section, we will talk about the benefits and the scope of such an approach.
Step 1 - Setting up the MySQL Database
As mentioned earlier, make sure that you have the latest versions of both MySQL Server (Community) and MySQL WorkBench installed on your machine. If not, download and install them from the below link.
https://dev.mysql.com/downloads/windows/installer/8.0.html
Note that you will have to download the MSI Executables for installing the services on to your machine. With that done, Open up MySQL Workbench. Here we will need to add a blank database/schema for our WordPress Application to run. The tables will be auto-generated by WordPress as soon as the application launches for the first time.

Make sure that you note down the username , password , database name and the port at which mysql is running. We will need these details when we start configuring WordPress on ASP.NET Core
Step 2 - Setting up ASP.NET Core Project
With the Database already setup and ready, let’s open up Visual Studio IDE and create a new ASP.NET Core Web Application. This will act as the Container over which WordPress will be running. Make sure that you have selected ASP.NET Core 3.1+.
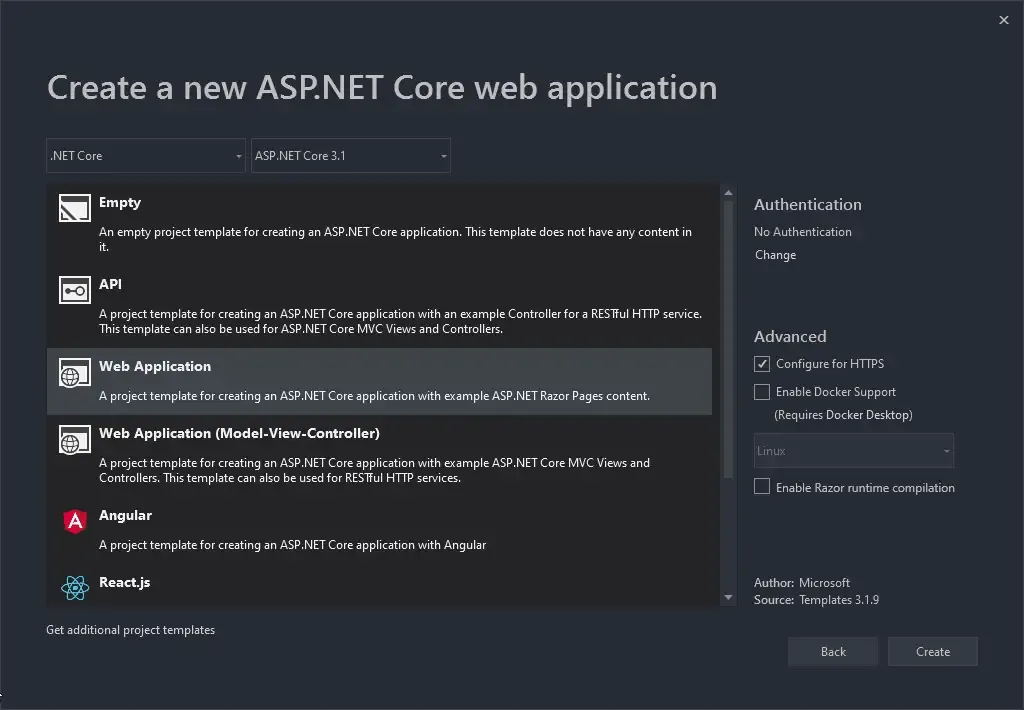
Step 3 - Installing the Required Package
As discussed earlier, the main attraction of this approach is that WordPress is already compiled to work on ASP.NET Core Applications. Thus all you have to do is to install the specified Package from Nuget. At the time writing, the package is still at its pre-release state (Yet it is completely functional out of the box).
Open up your Package Manager Console and run the following snippet.
Install-Package PeachPied.WordPress.AspNetCore -Version 5.5.1-preview1It might take a couple of minutes to install all the necessary packages, as the WordPress package itself is around 30Mb in file size. It took me around 3 minutes or so.
Step 4 - Configuring WordPress
Earlier we created a new schema / database on MySQL Server. Let’s add those connection details to appsettings.json.
"WordPress": { "dbhost": "localhost", "dbpassword": "root", "dbuser": "root", "dbname": "wordpressdb"}Next, like any other newly installed package, we will have to wire it up with the Startup Class and ultimately into the ASP.NET Core Service container. Open up Startup.cs/ConfigureServices method and add in the following.
services.AddWordPress(options =>{});Next, in the Configure method, add the following.
app.UseWordPress();That’s literally everything you need to do run Wordpress on ASP.NET Core. Still Confused, yeah? We will address this later in the article. For now, build and run the application.
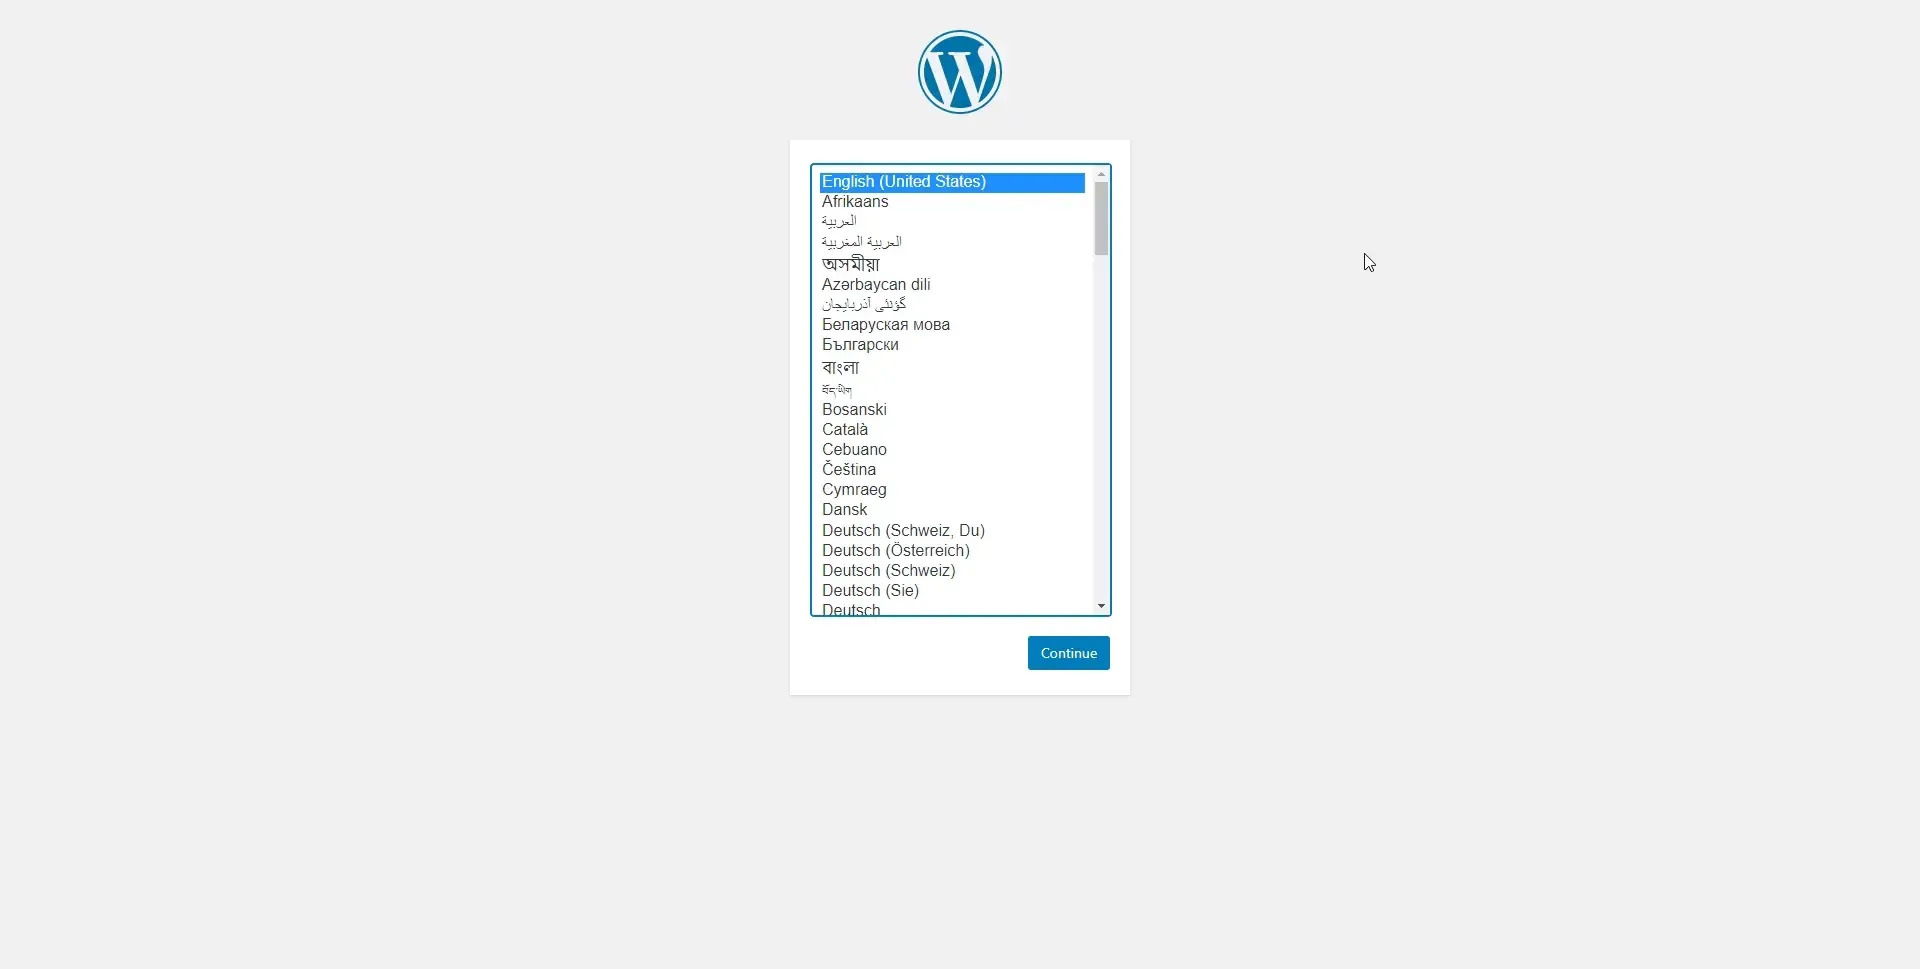
You will be presented with the default WordPress Installation Wizard.
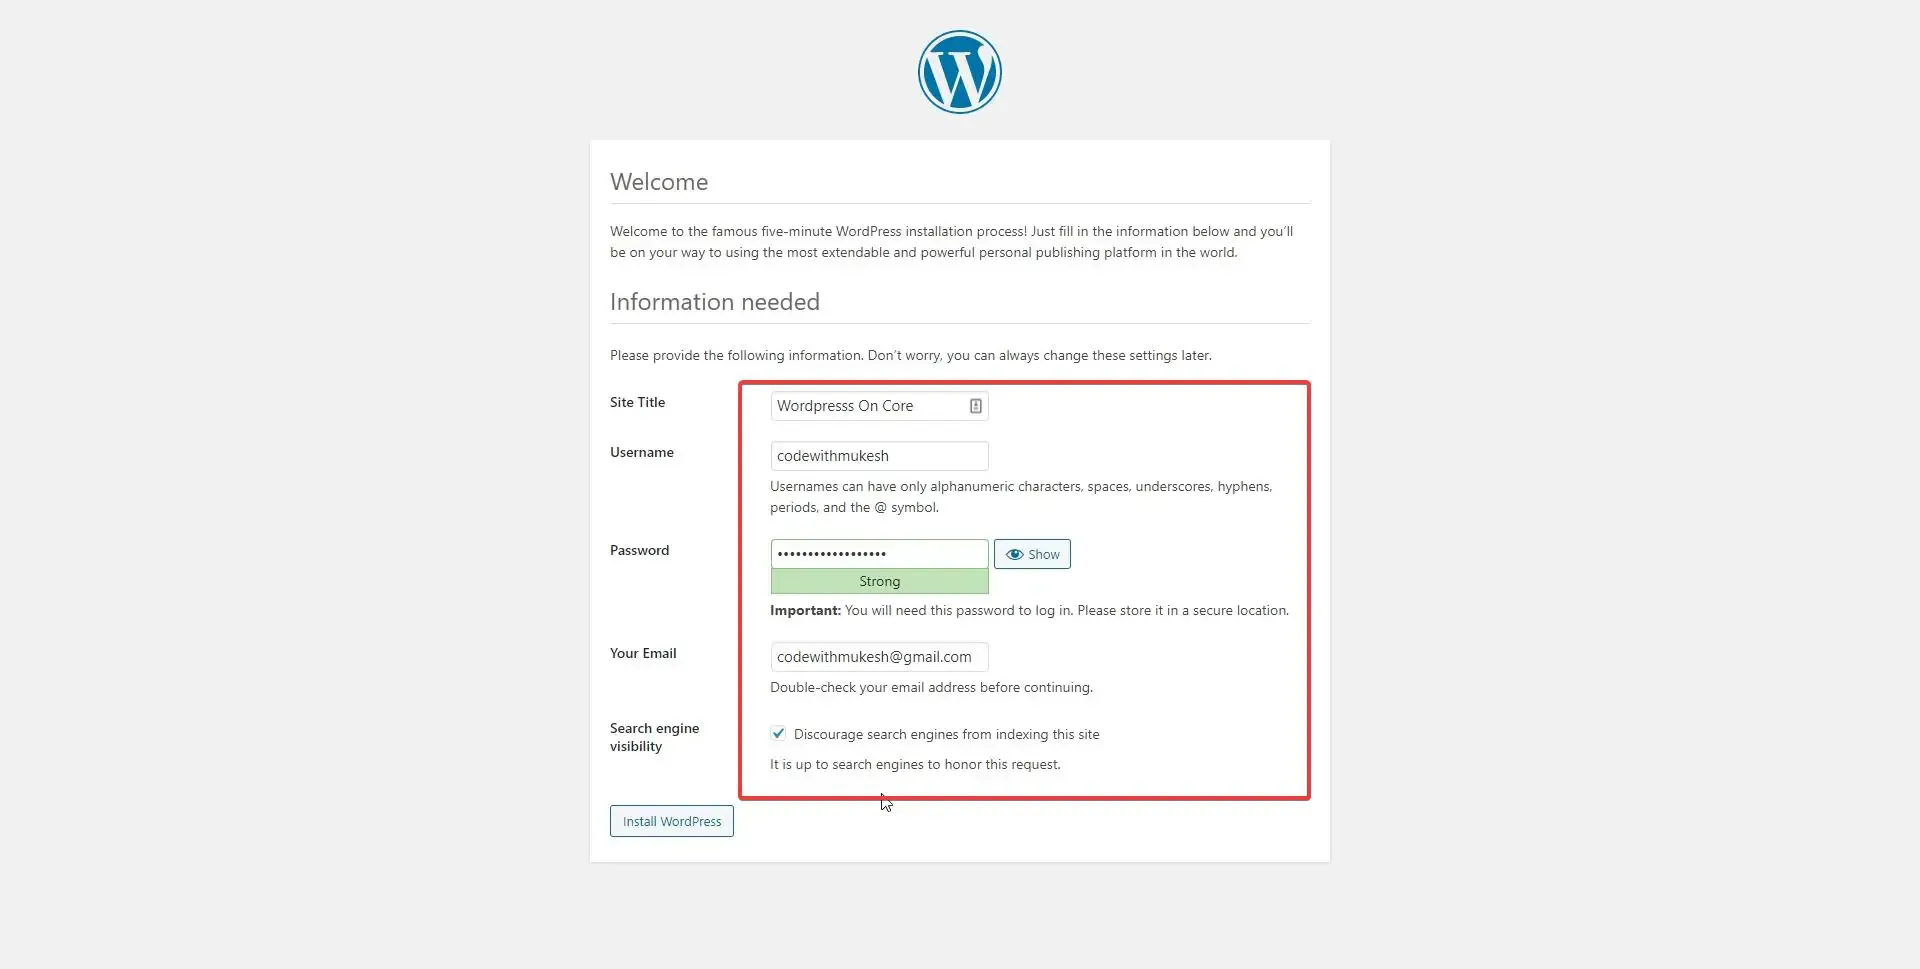
Here, enter in your Site Details and the credentials that you will use to login to the WordPress Dashboard.
Note that it may take a bit of time as WordPress will be creating the required tables for you in the specified Database on MySQL.
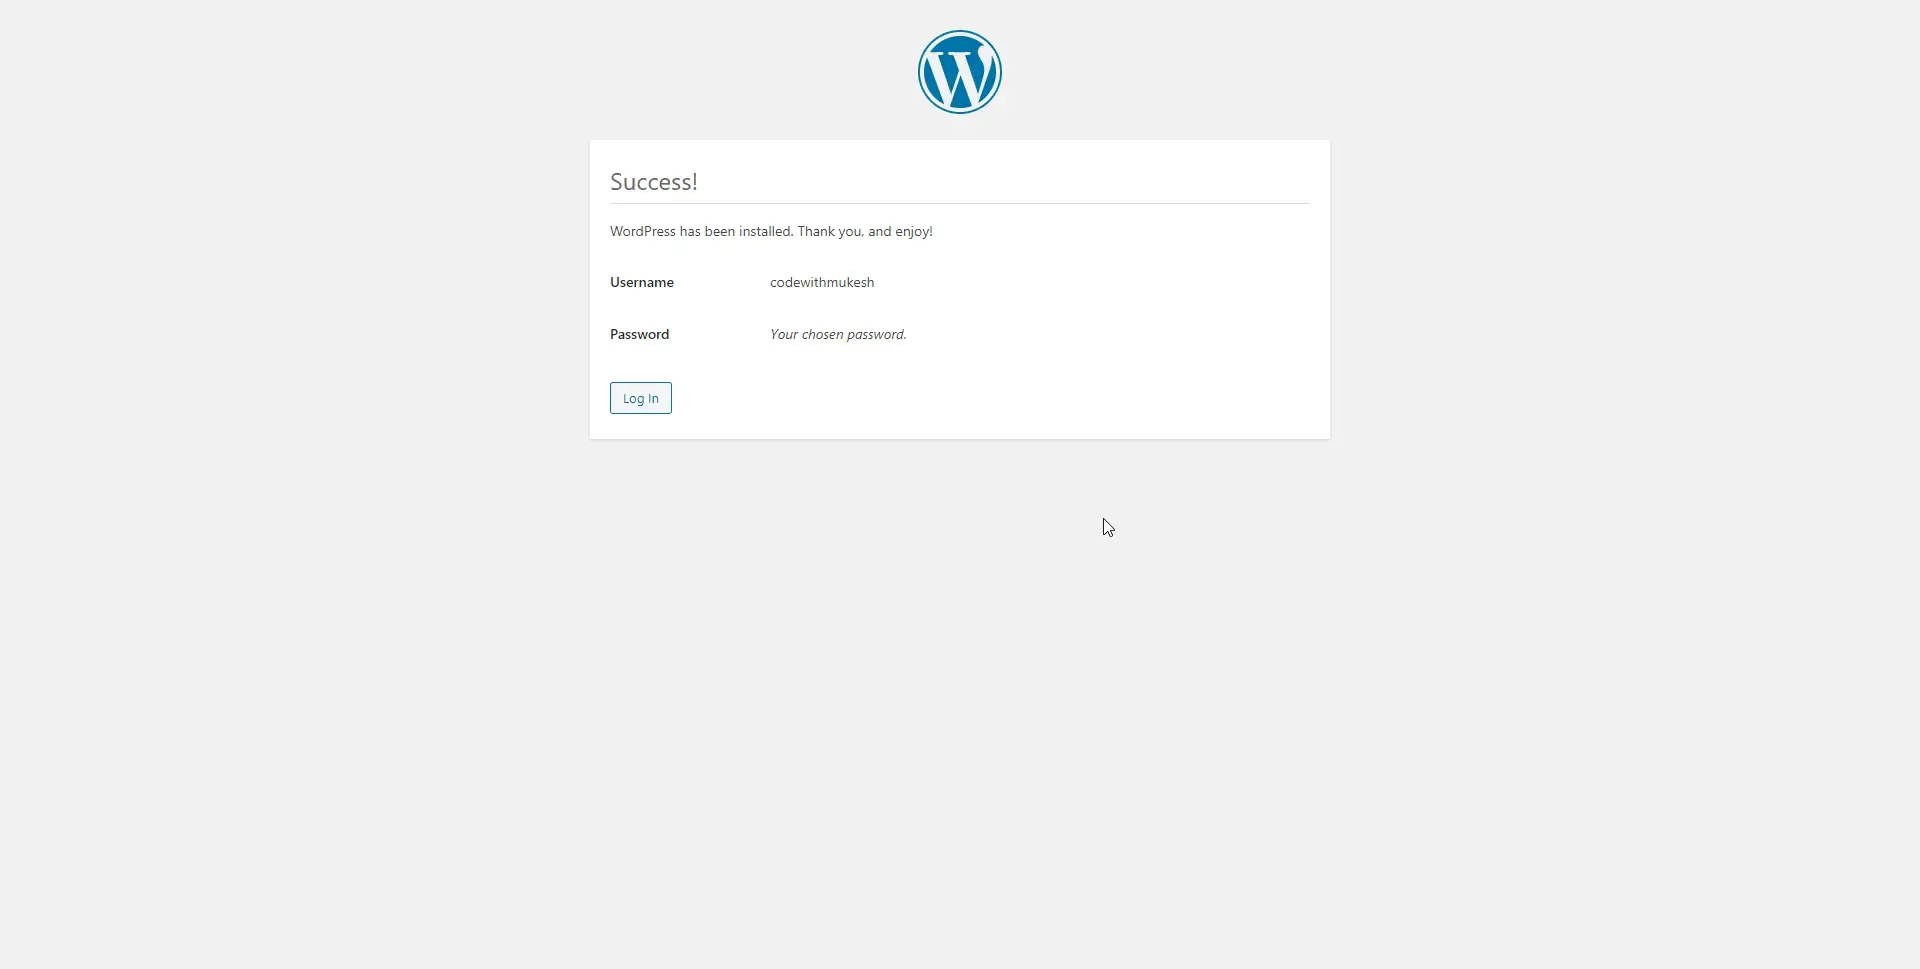
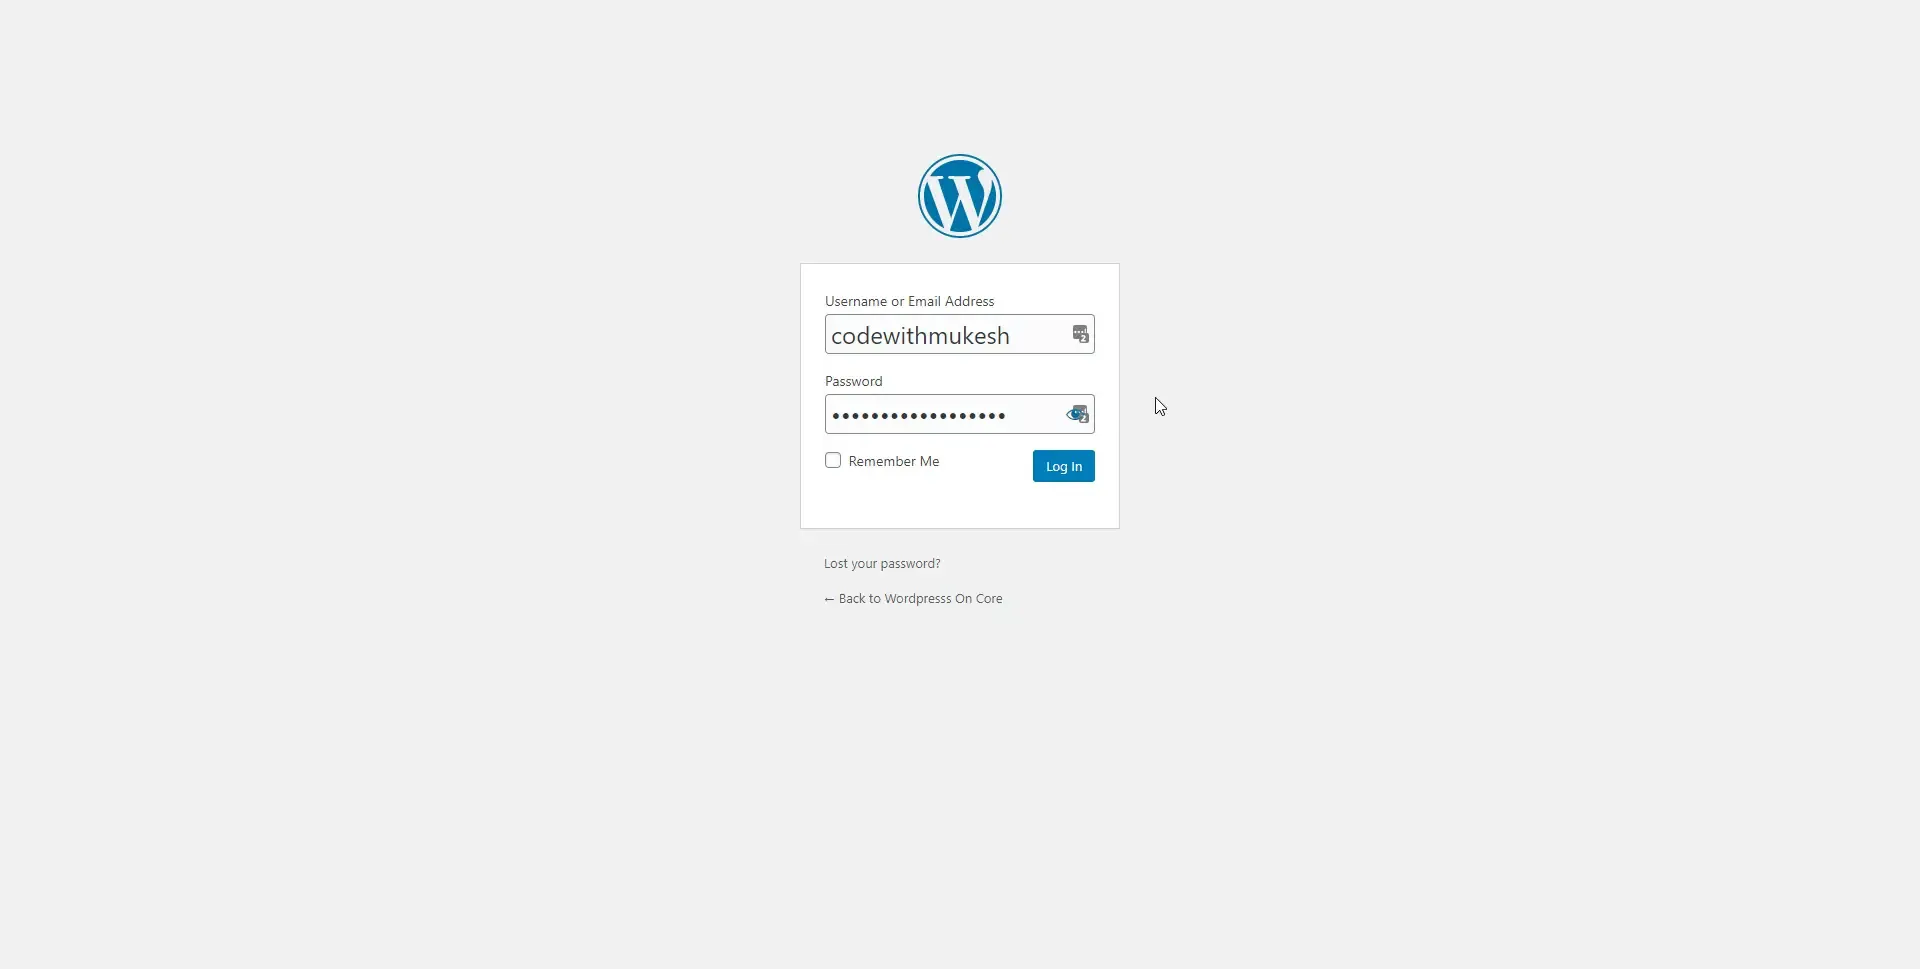
Enter the previously set credentials here.
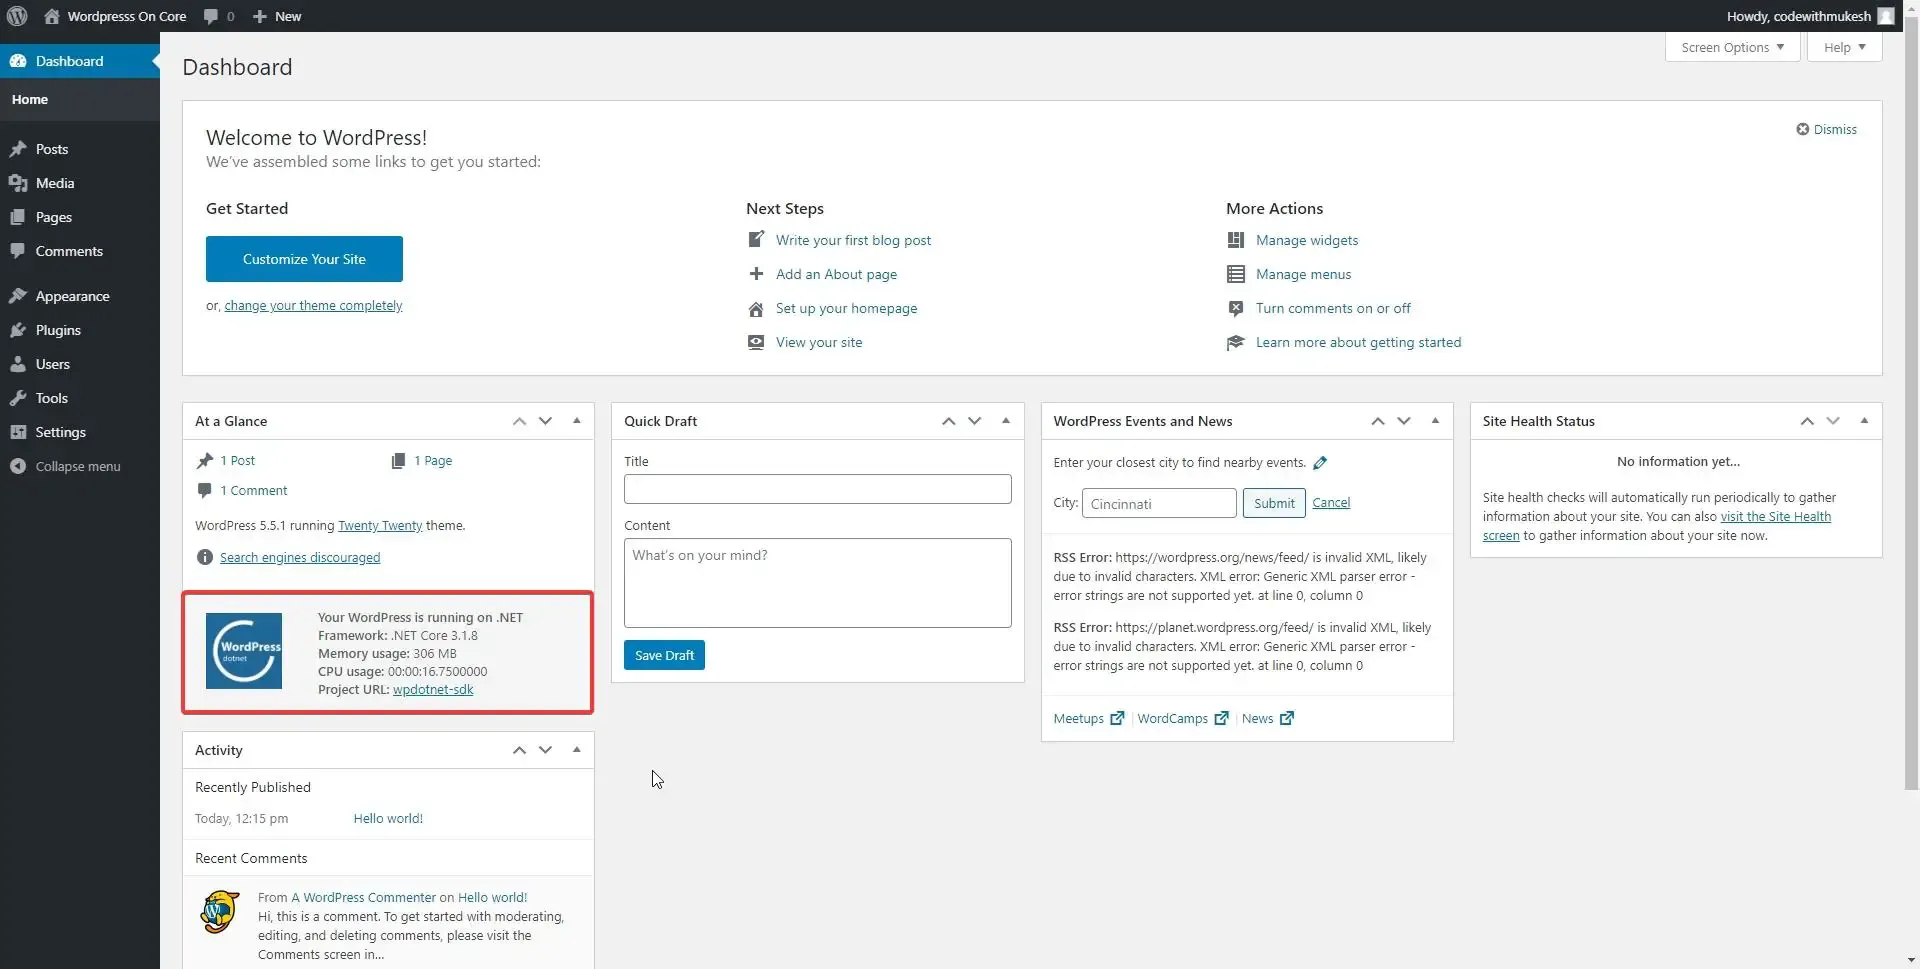
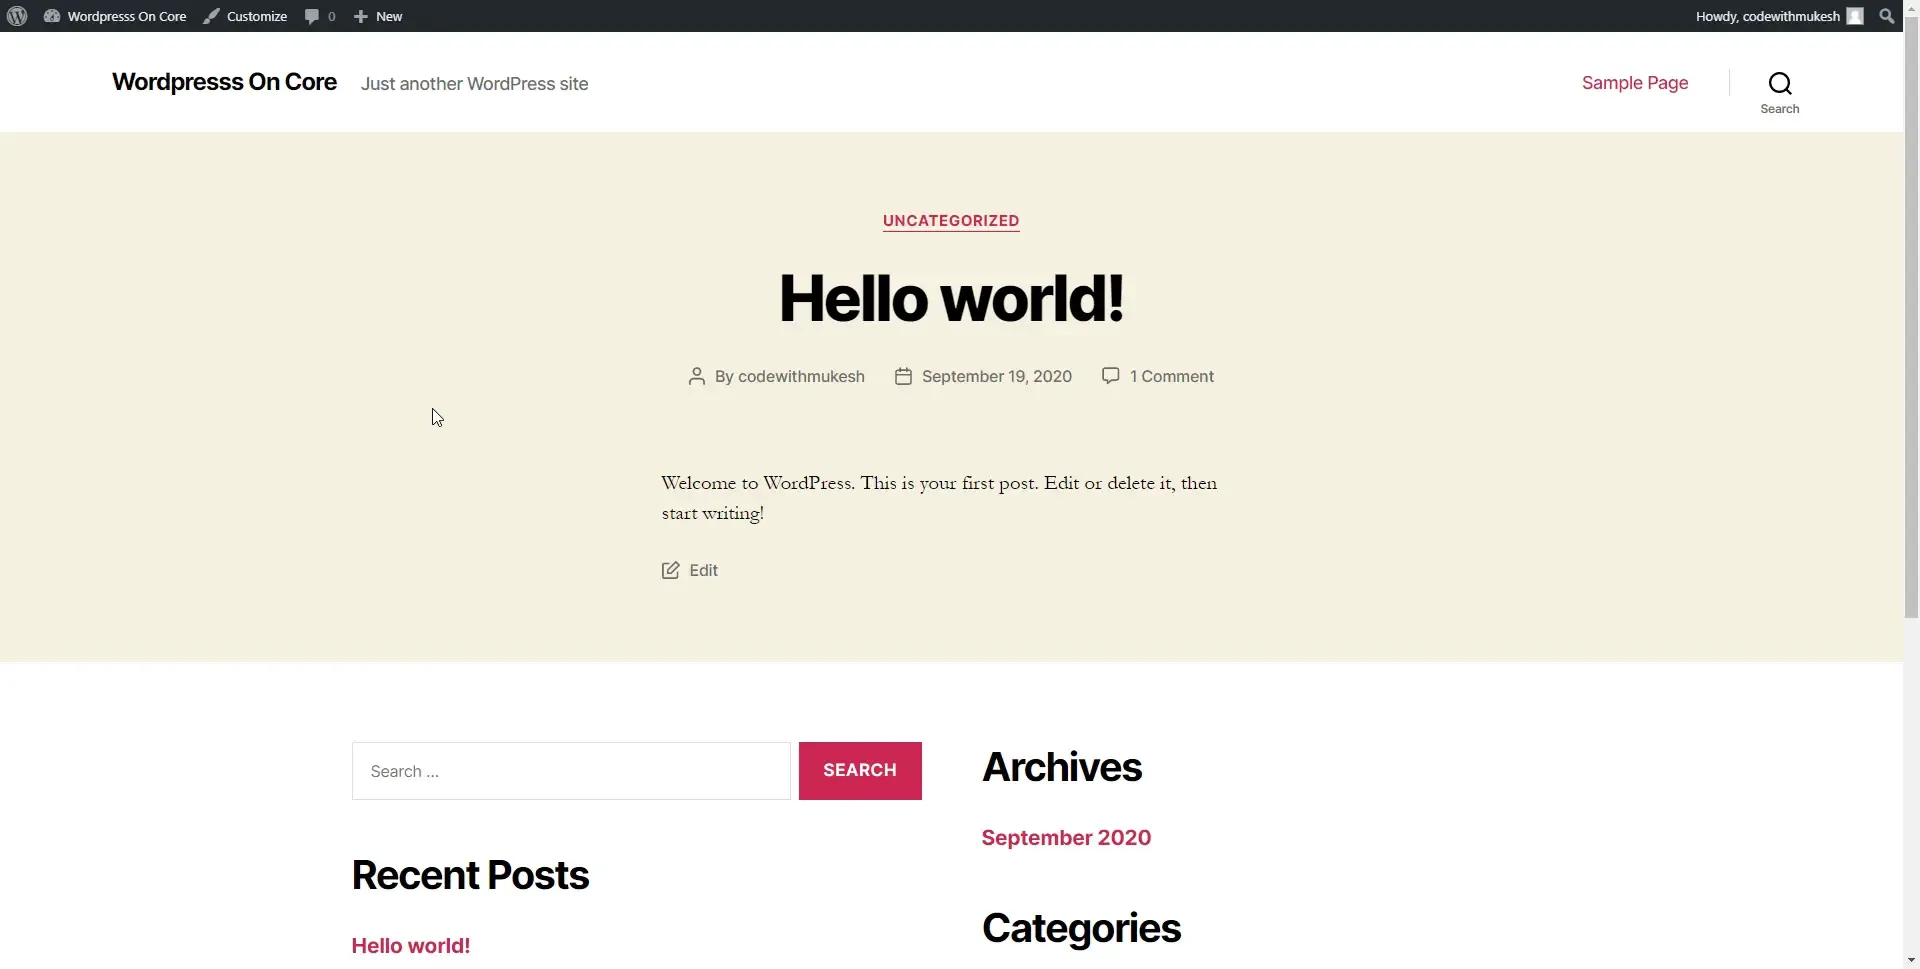
And there you go, you have an instance of WordPress on ASP.NET Core with minimal effort.
About Peachpie
Peachpie grabbed the eyes of the internet as soon as they claimed that they have completely migrated/compiled WordPress on ASP.NET Core host. It took me some time to digest the fact that PHP codes can now be compiled natively into .NET Libraries using this awesome PeachPie Compiler. Not every day you get to see some out-of-the-box thinking, yeah?
Peachpie allows for a seamless both-way interoperability between PHP and .NET applications. In simpler terms, this means that one can have some parts of an application written in PHP, while other modules are written in .NET and everything will work together as one application. Without Peachpie, connecting these modules is tedious, time-consuming and often risky or producing unnecessary performance overhead.
However, there are quite a lot of debates on how this was actually beneficial. One immediate advantage that I can think of is, now the developers have an easier path to migrate huge Legacy PHP codebases smoothly into the .NET Core world with ease as the PeachPie compiler now enables direct compilation of PHP code into .NET Assemblies / Classes although there might be a need of developer - supervision. But still pretty cool, yeah? Just Imagine all those awesome PHP Libraries that we envied, now making its way into the .NET World? :D
What PeachPie managed to pull off with WordPress is truly a game changer and something that might really change the way developers think. Wordpress is one of the most saught CMS with litelly every feature you can ever think on. Imagine that being available now in .NET too.Here is the original Repository of the Wordpress SDK by PeachPie.
Wordpress-PeachPie Plugin Concept
If you are already familiar with Wordpress, you should be pretty comfortable with Plugins in the Wordpress Dashboard. They are basically the php libraries that are installed from Wordpress marketplace or 3rd party sources that actually can add features or extend features.
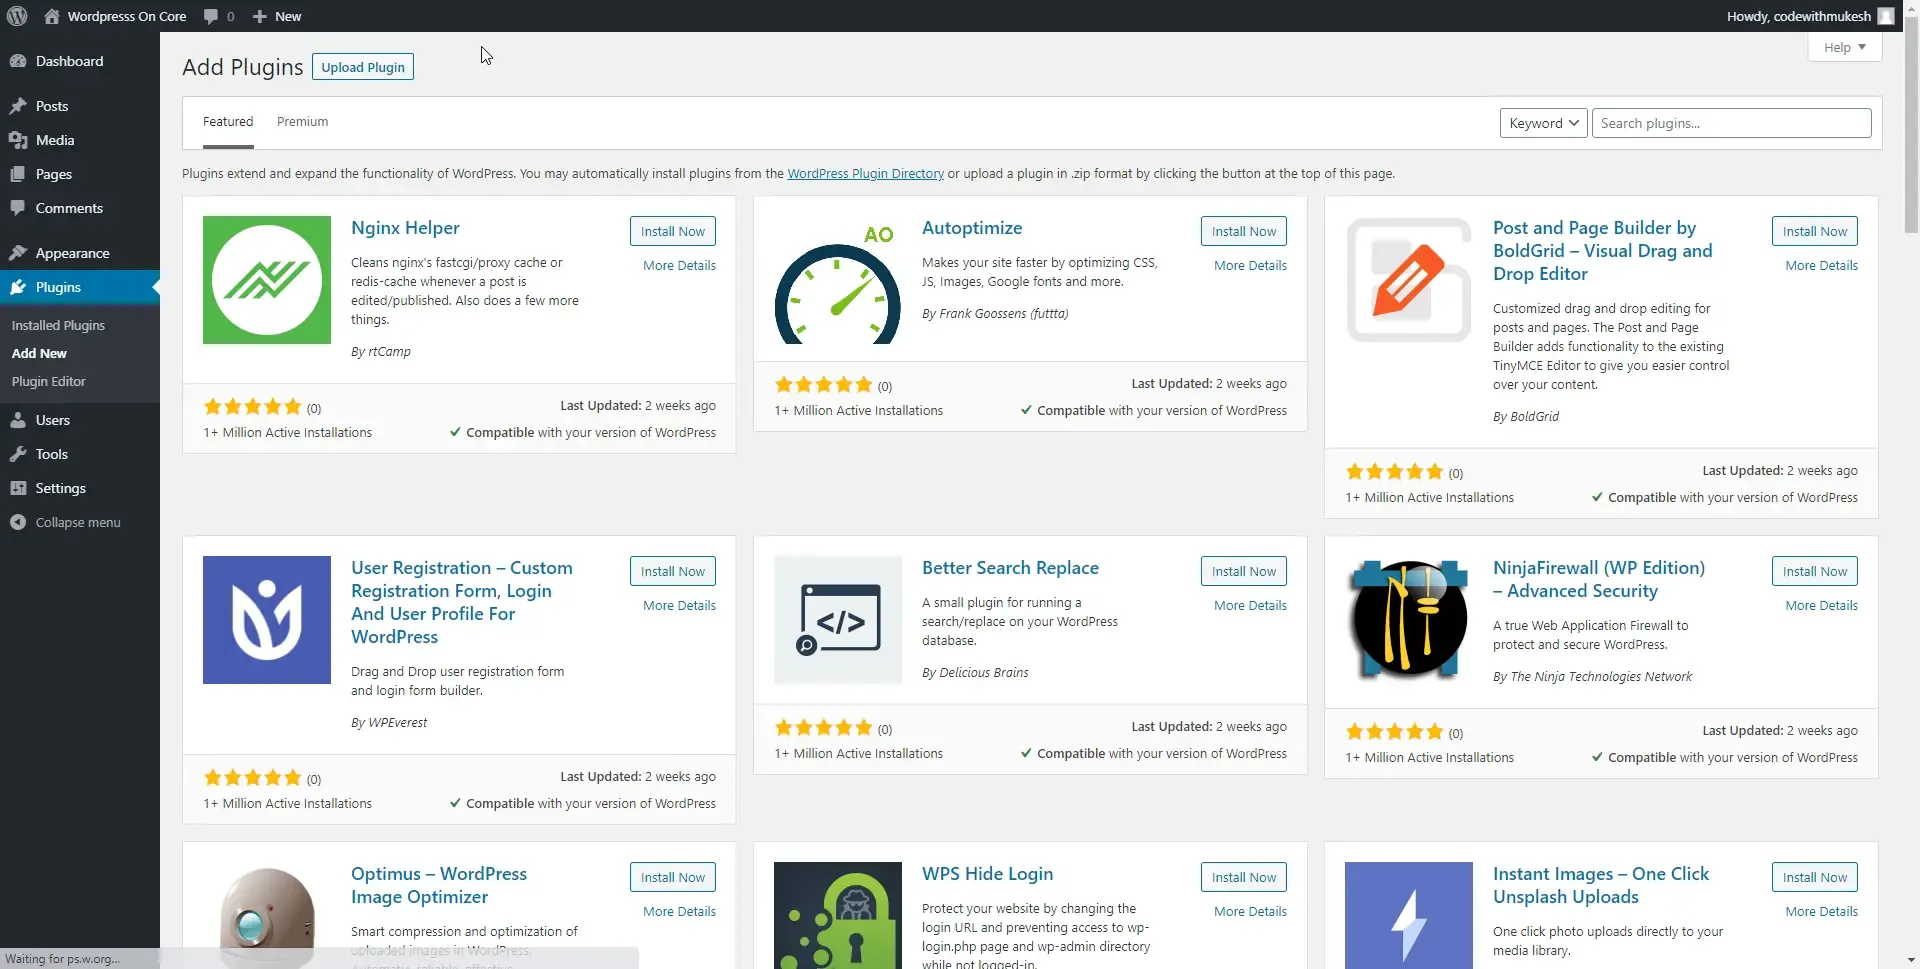
The above screenshot is that of the Plugins page that ship with WordPress. One point to note it that these are not the actual plugins that come directly from the WordPress Marketplace, but the complied plugins from PeachPie. So, PeachPie takes in the PHP Libraries (Plugins) , runs them within their awesome compiler generates the required .NET DLL variant and makes it available in the Plugin page.
It’s also possible to write your own C# Plugins are integrate them with Wordpress. We will talk about this in another article though.
Benefits of Running WordPress on ASP.NET Core
- Source-less Distribution : Now you never need to worry about copying the PHP sources back and forth. Peachpie compiles the entire source to DLLs which makes lives much easier.
- Secure : I personally have quite a lot of experience working with WordPress websites. The amount of security issues and attempts to brute-force attack the login page is pretty high. There are quite a lot of scripts/tools that can automate the entire brute-force process against PHP websites, especially WordPress. With .NET Core into the game, the entire security realm is going to be much tougher to penetrate.
- Best of Both Worlds : The richness of WordPress combined with the robustness of .NET.
- Blazing Fast WordPress : Yes, it’s quite confusing to realize that Peachpie compiles the WordPress (PHP) to .NET Native assembly and ends up running it much faster than PHP Hosts themselves. Here are the benchmark tests of Peachpie. Pretty Amazing!
- Opens up the Hosting World to .NET Core Hosting Providers too : Given the advantages of such an approach, people would now start hosting this variant of WordPress onto .NET Hosts with ease which opens up a huge section of the market.
Summary
In this article, we covered this awesome way to run Wordpress on ASP.NET Core, some information about PeachPie Compiler and it’s benefit. You can find the complete source code of this impleemntation here.
Leave behind your valuable queries, suggestions in the comment section below. Also, if you think that you learned something new from this article, do not forget to share this within your developer community. Happy Coding!

